The Station Solo
Speed, power, reliability.
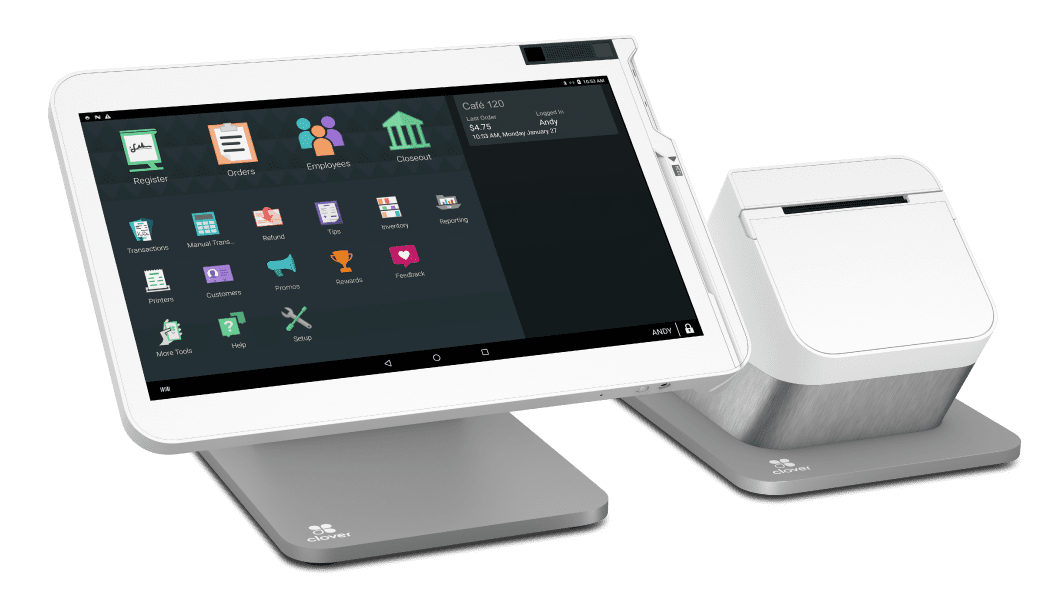
Accept payments and run your business with a customizable, all-in-one point-of-sale system. The Station Solo offers the power to process customer payments, print receipts, track sales transactions, and more to manage your business. Welcome to Clover’s Station Solo.
 Large, versatile display.
The Station Solo’s 14″, high-definition display makes your work fast and easy, from inventory and employee management to payments and reporting.
 Multi-layered security.
The Station Solo gives you a fingerprint login for enhanced employee security in addition to end-to-end encryption for every payment transaction.
 Custom orders done right.
With the Station Solo, you can create custom orders quickly and accurately. You can adjust a menu item, add or remove optional ingredients and modifiers, automatically update the order total, and more.
 Speed, power, reliability.
This machine packs plenty of processing power to help you run your business faster. Now, with an even faster CPU and more RAM.
Features
The Clover Station Solo comes equipped with a robust set of features including:
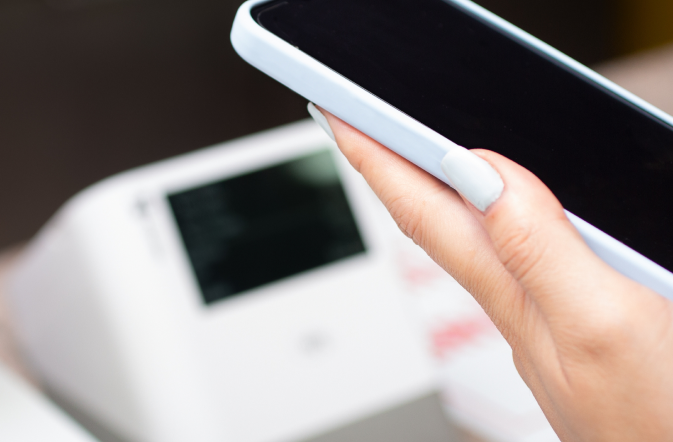
- Magnetic-stripe swiper, EMV reader, and contactless NFC technology.
- Fingerprint scanner for secure staff login.
- High-speed thermal printer.
- A cash drawer.
- 5MP camera for scanning barcodes and QR codes.
- High-definition 14″ LCD screen.
Additional Features
- ProcessorQualcomm® Snapdragon™ 660 octa-core processor
- SoftwareAndroid 10
- Internal Memory2GB RAM, 16GB Flash
- DisplayTiltable 14.0″, 1920×1080 TVDPI (160ppi) LCD
- Ports4 USB, 2 RJ12, & 1 12-V charging port for a Clover Flex
- AudioInternal speaker and microphone
- Internet ConnectionEthernet, Wi-Fi, 4G/LTE
Pair with Clover’s state-of-the-art accessories
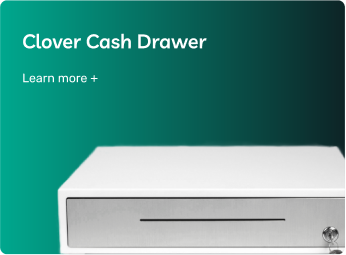
Clover Cash Drawer
DESCRIPTION
The Clover cash drawer is the official matching cash drawer for The Mini and The Station, built by Clover. This drawer has 5 bill slots and 5 coin slots and automatically pops open if you ring a sale when connected to your Mini or Station Clover system via the included interface cable..
What’s included:
- 16×16 Cash Drawer
- Till with 5 bill and 5 coin slots
- Cash drawer cable
- 2 keys
- Two foam packing inserts
- Manual
Specifications:
- This cash drawer is printer-driven, so it must be plugged into a printer to pop for sales
- Has 5 fixed bill slots and 5 fixed coin slots
- 2 media slots
- 16.54 x 16.54 x 4.3 in (42.01 x 42.01 x 11 cm)
- 16 lbs (7.3 kg)
Compatible Products
- The Mini, built by Clover
- ALL Stations built by Clover (v1, v2-2018, pro, duo, solo)
P500 Printer
DESCRIPTION
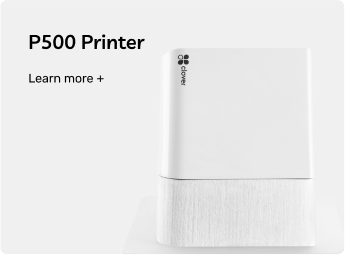
Clover P500 printer is compatible with the Clover Station. The Clover P500 printer a customer-facing printers that is perfect for a retail store, restaurant, bakery, convenience store and other businesses. This compact space-saving clover POS printer syncs to any Clover Point of Sale terminal for easy receipt printing.
Weight Scale
DESCRIPTION
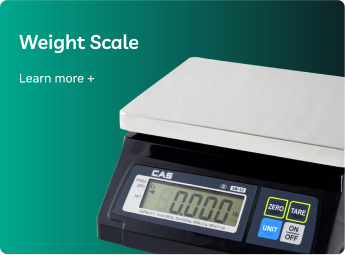
Compact POS Scale. Compact in design and easy to use Point Of Sale scale for use in a variety of applications. AC or battery operated Legal for trade. Use in restaurants, specialty stores, farmer’s markets and more!
Specifications:
- RS-232 Serial Port for Interfacing to POS/ECR
- AC or Battery Operation
- AC Adapter Included
- Stainless Steel Platter
- Rear Display Included
- Full Body Protective Cover Included
- Kg/Lb/Oz/g Unit Modes (Lb,Kg/Oz only for POS/ECR)
- Legal for Trade, Class III (NTEP #99-002)
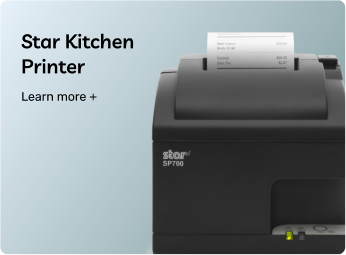
Star Kitchen Printer
DESCRIPTION
With multiple interface options and driver support for a variety of operating systems, the Star SP700 impact receipt printer works anywhere you need. Interfaces are available for Serial, USB, Parallel, as well as wired and wireless Ethernet. If an interface must be changed, it’s as simple as removing it from your SP700 and replacing it with an appropriate interface. Driver support covers Windows, Linux, and Mac OS X, meaning the Star SP700 is a prime candidate for any point of sale station.
Features:
- Prints at 4.7 lines per second
- User-swappable interfaces allows for easy upgradeability
- Driver support for Windows, Linux, and Mac OS X
- Can be mounted horizontally or vertically
- 2-Color graphics printing
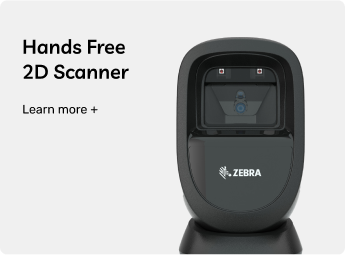
Hands Free 2D Scanner
DESCRIPTION
From convenience and drug stores to quick serve restaurants and other retail environments – counterspace is limited, bumps and spills may be an everyday occurrence, and the need for high customer satisfaction is always critical. Introducing the DS9300 Series, the presentation scanner that fits anywhere, scans everything, and is built for all-day reliability. You get a compact form factor coupled with stylish aesthetics ideal for trendy boutiques or convenience stores with limited real-estate at the checkout counter. With the ability to scan challenging barcodes at your point of sale, you get unmatched performance for speedier checkout times and happier customers, along with a design that is built to handle everyday drops, bumps and spills to keep you up and running. The DS9300 Series – the little presentation scanner with big functionality.
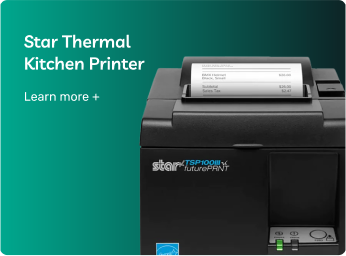
Star Thermal Kitchen Printer
DESCRIPTION
Introducing the TSP143III, the trusted thermal receipt printing solution tailored for businesses of all sizes, offering seamless installation, exceptional print quality, and a USB-A port to charge mobile devices on the go. Boasting USB, Bluetooth, Ethernet (LAN), and wireless (WLAN) connectivity, this versatile printer is ideal for businesses in the retail, hospitality, and cannabis industries. It includes access to futurePRNT receipt customization software and offers a wide range of optional accessories, able to adapt and excel in any business setting. This all-inclusive package comes with everything you need to begin: an internal power supply, power cables, mounting kits, and a starter paper roll, making it the perfect addition to any mPOS bundle. Elevate your business with the unparalleled performance and adaptability of the TSP143III thermal receipt printer.
Key Features
- Works with iOS, Android, and Windows devices
- High-speed printing of 250mm/s
- Easy setup and installation across all models
- Lightning connection for charging and data transfer simultaneously
- Guillotine auto-cutter
- Unique Print Flat technology feature
- Access to futurePRNT technology
- Multitude of optional accessories available
More from ECS.
Get in touch.
Currently, ECS is only able to process payments within the United States and its territories.
If this is your first time setting up your Clover Solo, follow these steps to turn on your clover:
1. Place the white connector cable in its color coordinated ports on the back of your clover devices.
2. Use the provided screwdriver to secure the cable in place.
3. Connect the black power brick to the white hub.
4. Connect the black power chord to the black power brick.
5. Plug in the power cable to power on your Clover Solo.
6. Follow the setup wizard to finish setting up your device.
Clover recommends keeping your device on and plugged in. However if you need to turn on and off your device, hold down the green power button on the side of the smaller device under the LCD touch screen panel.
If this does not work, you can unplug and plug back in the device. If your Clover wont turn on after plugging in your power cable, check your outlet for a blown fuse. You can test this by plugging in other electronics to see if they work on that outlet.
Do not factory reset a Clover device unless directed to by Clover customer support.
A factory reset erases all data from your device. Any transactions stored while offline are also deleted, but transactions that were accepted, but not batched, are saved before being deleted from the device.
When you factory reset a Clover device, you’ll receive:
1. A new activation code via email (your original activation code is no longer valid).
2. A notification with the new Clover Station factory reset code when you log in to your Clover account.
You should only factory reset your device if:
1. You are canceling your account.
2. You are receiving a replacement device.
3. You have been recommended to by Clover customer support.
You can factory reset a device using the Setup or Settings app on a device, or from Account & Setup on the Web Dashboard.
Factory reset using the Setup app:
1. Make sure to select the Owners Account and not Admin.
2. Open the Setup app on the device you want to reset.
3. Tap Devices.
4. Select the device you’re currently using.
5. Tap the Clover Reset button; then tap the checkbox to confirm that you understand all offline transactions on the device will be deleted.
Factory reset using the Settings app:
1. Open the Settings app or swipe down from the top right corner of your Clover screen, then select Settings.
2. Tap Reset; then select Factory data reset.
3. Tap Reset Device to confirm.
Factory reset on the Web Dashboard:
1. From a web browser, log in to https://www.clover.com/dashboard/login.
2. From the Account menu at the top right, select Account & Setup.
3. In the About Your Business section, select Devices.
4. In the Devices list, find the device to be reset and click the pencil icon.
5. Select Factory Reset.
6. A message appears requiring you to confirm the reset and acknowledge that all data and unprocessed orders on the device will be lost.
7. Confirm the reset, and then select Factory Reset to reset the device, or select Cancel.
8. After your device resets, follow the onscreen instructions to activate and connect your Clover device.
For more information on Clover set up, be sure to check out your Clover Station and Clover Station Solo PDF guide.
